Overview
In the Employee Master section, the admin gets a detailed overview of the employee directory. They can perform actions like manually adding employees, adding them in bulk, or updating details in bulk. Clicking on a specific employee reveals comprehensive information, and the kebab menu on the right side, provides options for various admin actions.
Employees Master
In the Employee Master, admins have a comprehensive employee directory offering detailed views of each employee. Various filters, including status, designation, department, and shifts, can be applied to search for specific employees.
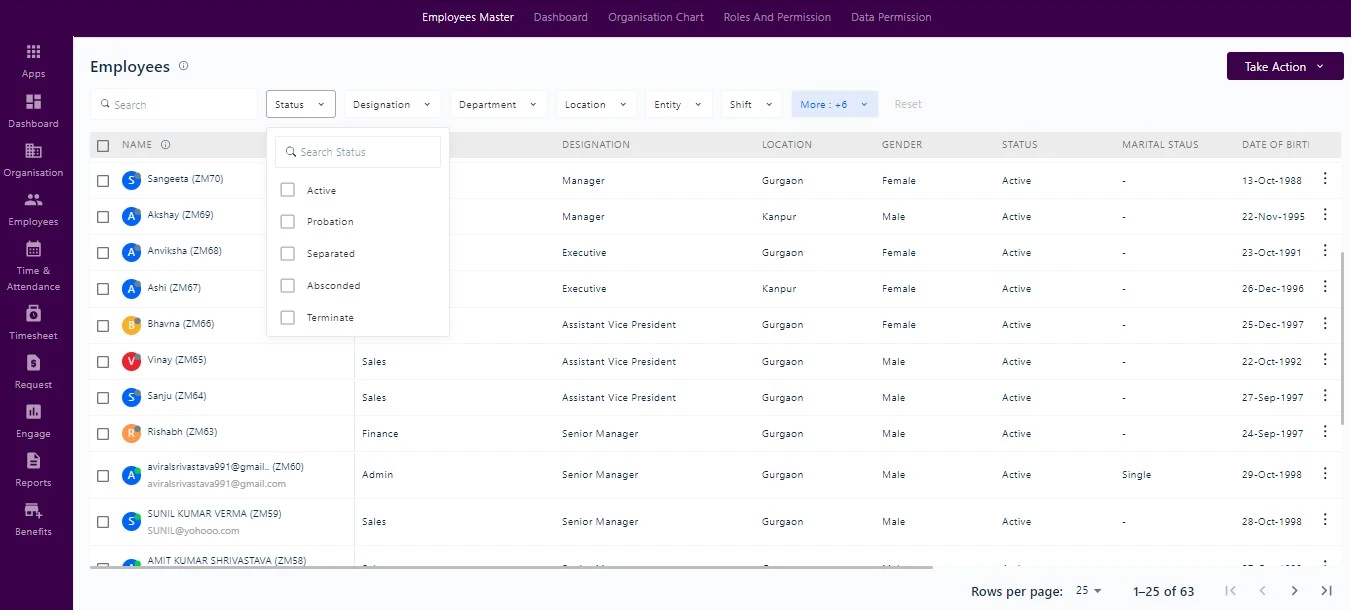
Clicking on the three dots on the right side of the screen allows the admin to perform various actions for a specific employee, including viewing the profile, editing information, suspending, transferring, deleting, activating roster, and generating an ID card.
Take Action
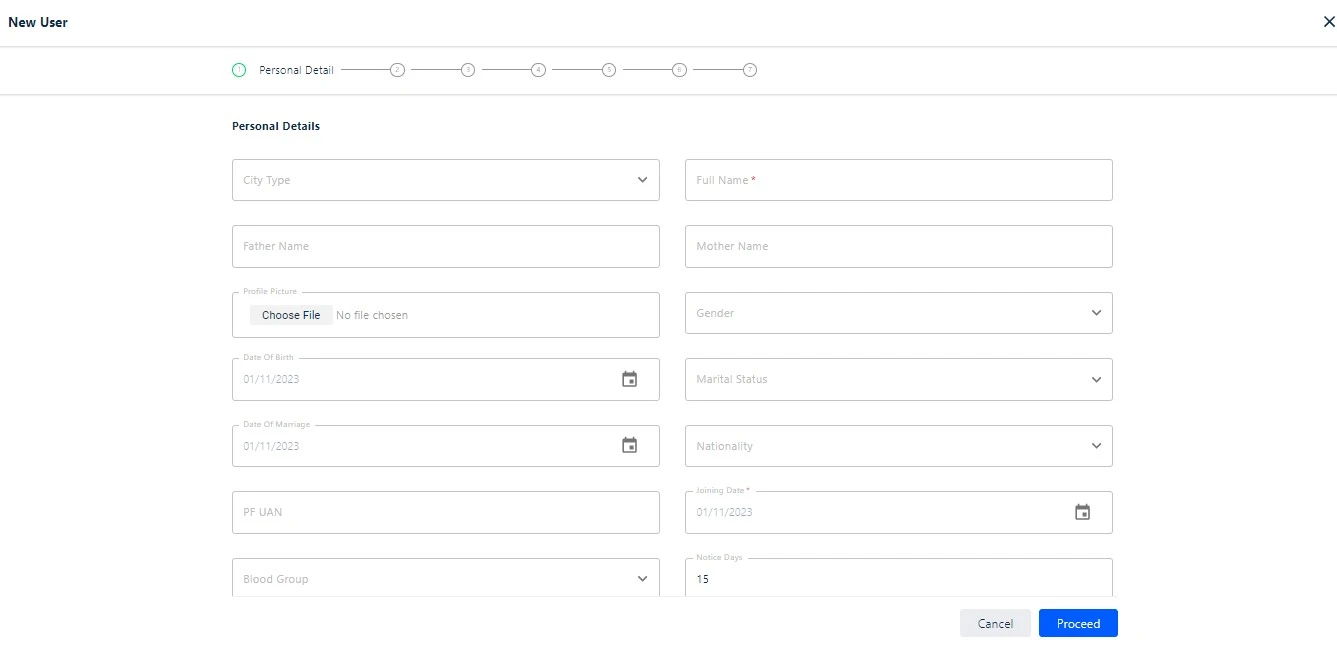
In the given interface, selecting “Take Action” allows the admin to manually create an employee, perform bulk employee creation, update details in bulk, and execute bulk employee transfers.
Clicking on “Add Manually” opens the “Add User” section, where the admin must fill in all the required details to add a new employee. As shown below in the screen.
For bulk adding Admin need to download pre-defined CSV file , fill the required details and upload it.
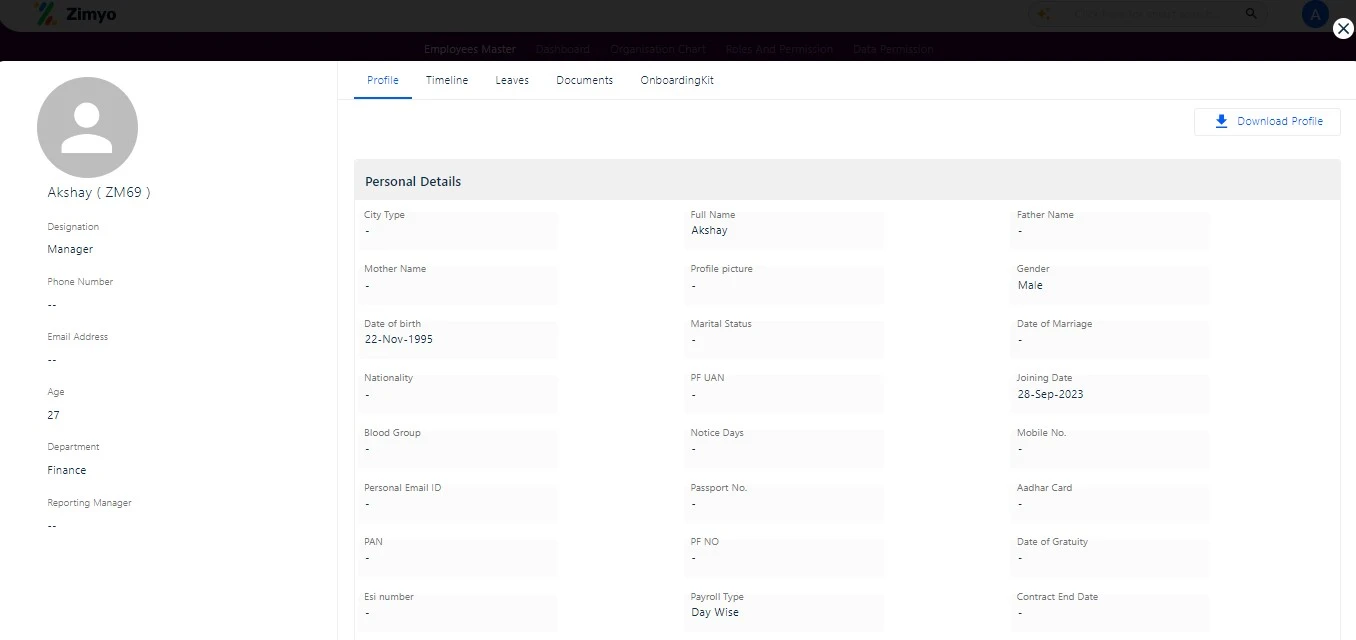
In the Employee Master section, clicking on a specific employee allows the admin to view the employee’s profile, complete timeline, leaves, documents, and onboarding kit details.
In the Leave Section, the admin has the ability to edit the leave balance for respective employees, including adding leave types and adjusting balances accordingly.