1. First, log into your zimyo account
2. This will take you to the homepage. From there, click on the “ESS” tab.
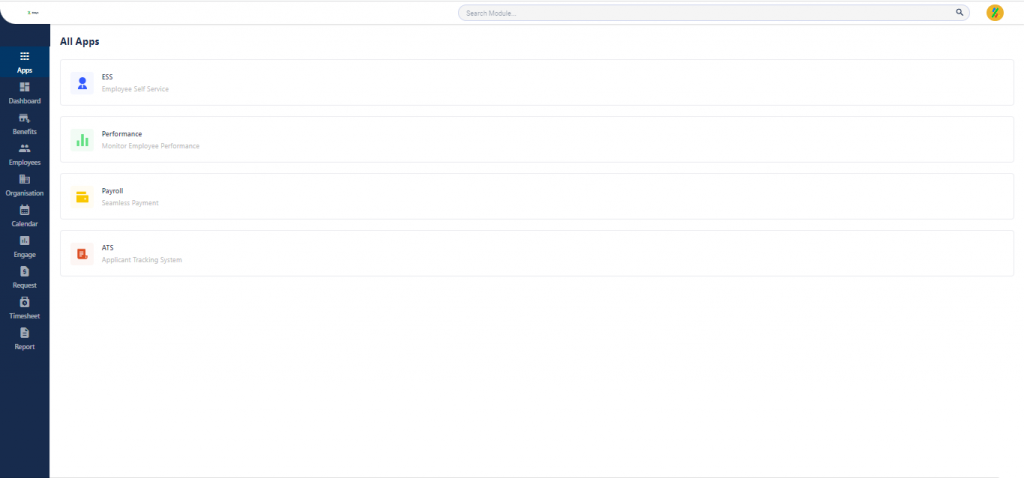
3. This will take you to the dashboard.
4. On the top of the screen, you will see numerous menus, including- Dashboard, Engage, Request, Finance, Benefits, and Others.
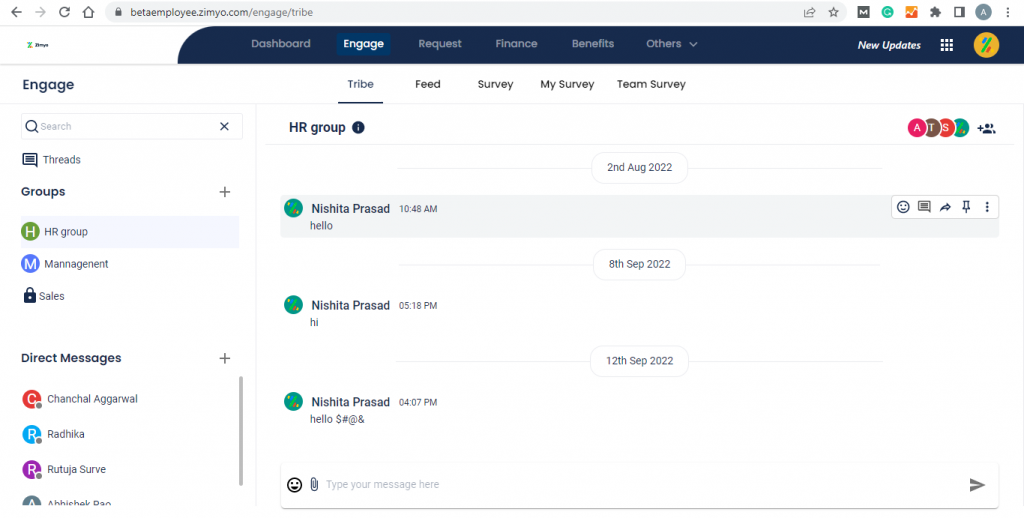
5. This will navigate you to the following dashboard:
6. From the header, click on “Engage.”
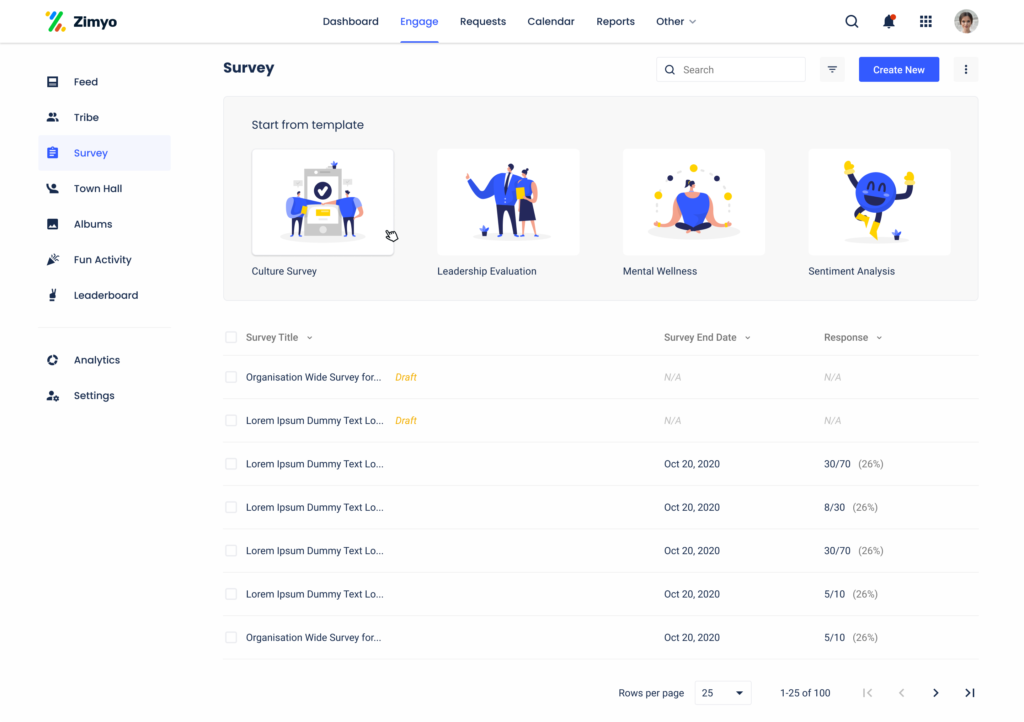
7. If you want to create a survey, then click on “Survey” from the menu on the left side of the screen. The following screen will appear.

8. To create a new survey, click on “ Create New” on the top right-hand corner of the screen. This will take you to the following screen.
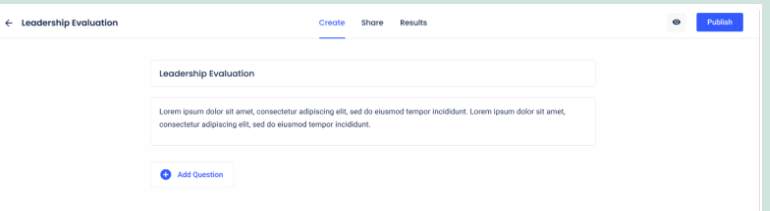
9. From here, you can add questions for your survey by clicking on “Add Question” at the bottom of the survey introduction.
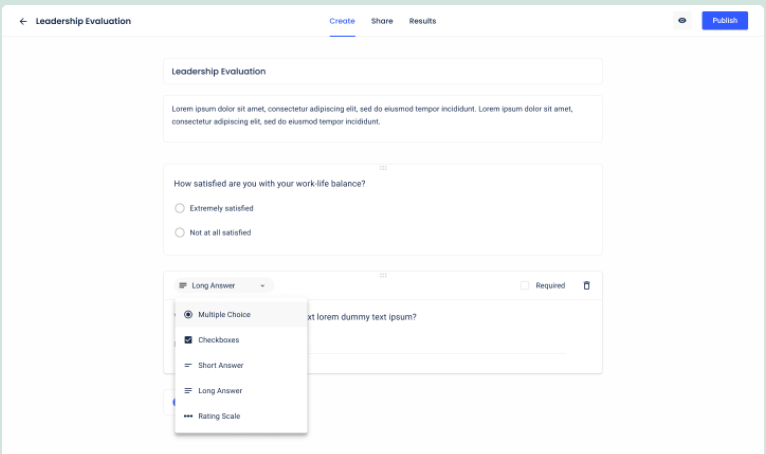
10. You can choose the question type (multiple-select, single select, short answer, long answer, rating scale) for your survey.
11. After choosing your question type, you can start adding questions to your survey.
12. Prepare your survey questionnaire and then publish it.
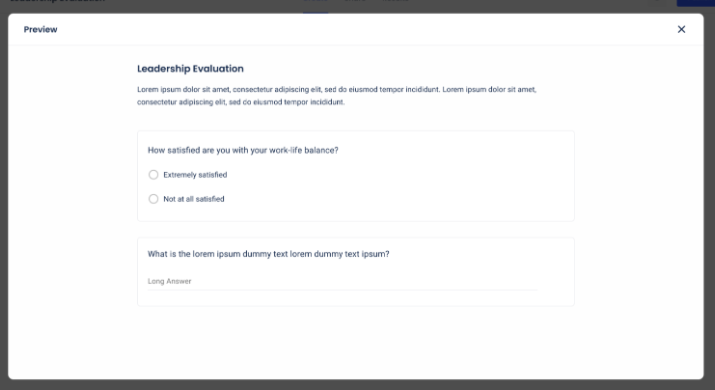
14. If you want to preview your survey, then click on the “preview” icon on the top right corner of the screen. The following popup will appear on your screen.
13. After previewing, you can choose with whom you want to share your survey by clicking on “Share” at the top of the screen. The following screen will appear:
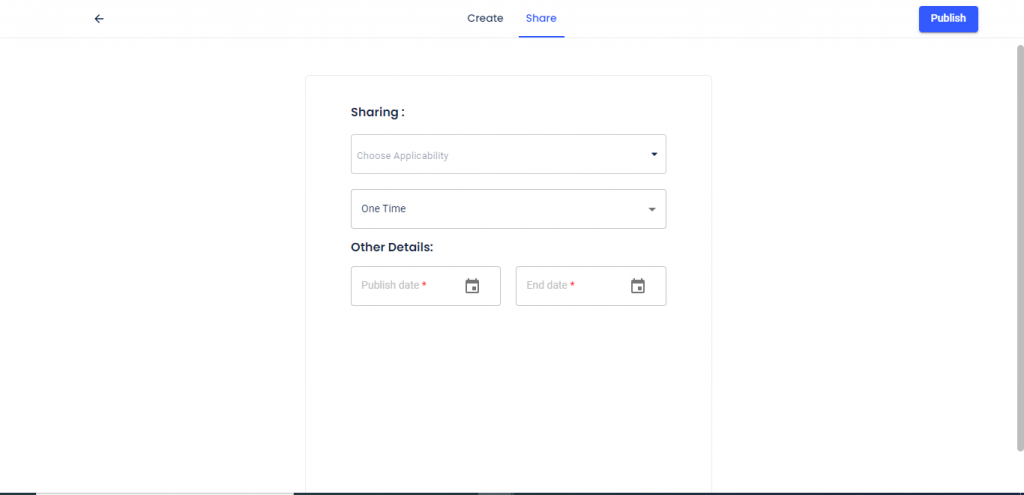
14. From here, click on “Share with”. A dropdown menu will appear.

15. From here you can choose the company, department, entity, location, and zone you want to share your survey with.
16. Then publish your survey by clicking on “Publish”. The following popup will appear on your screen.

17. Click on “Yes, publish it” if you want to finally publish the survey.
18. Once you click on “Publish”, you will be landed on the following page. Here, you can see your survey title and responses as well.